11 August 2010

Embellished Towel Mini Tutorial


With money tight, I decided to update towels I had on hand to extend their life and usefulness.  I used materials I had on hand, so the cost was essentially free.  I always save the scraps from other projects for just such an occasion. 

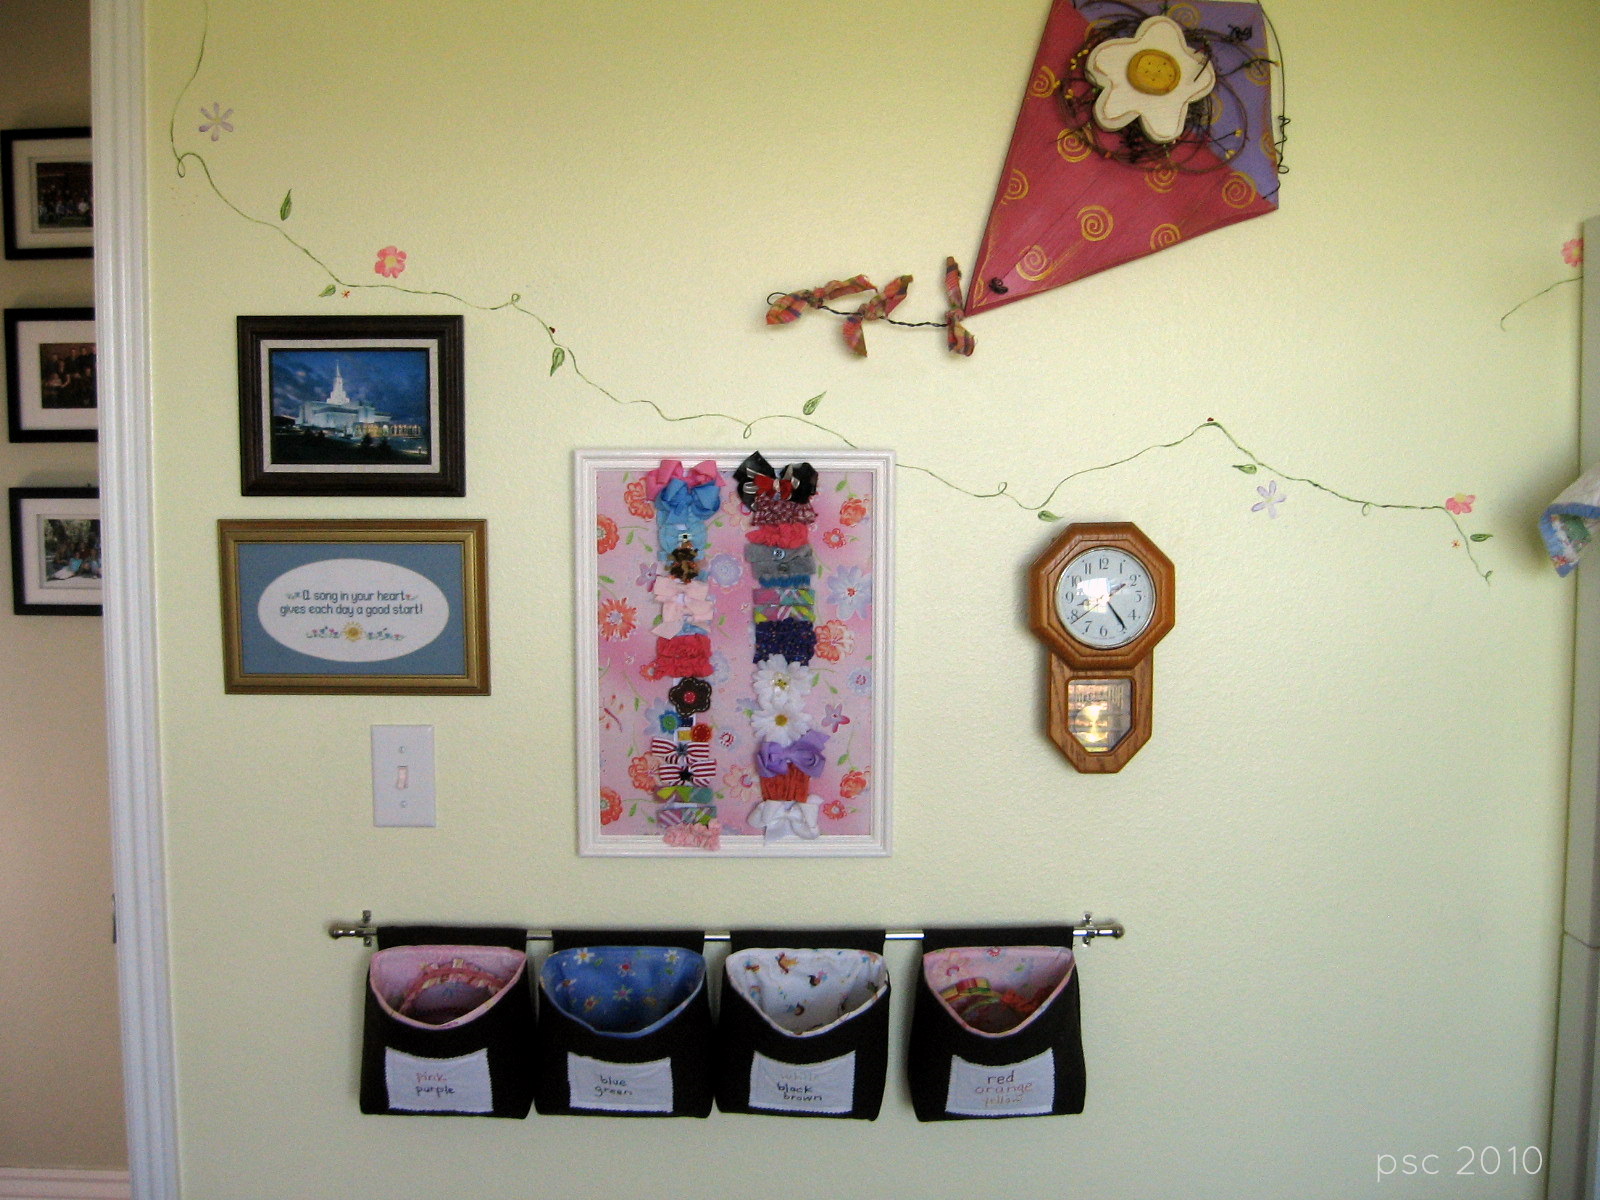
You can see more of my kids' bathroom update HERE.

You'll need the following materials:
  • scraps of fabric large enough for the width of your towel plus 1.5", and at least 2" wide.
  • iron-on interfacing that is the exact width of your towel and the finished width of your panel. 
  • scraps of heat n bond lite or similar product for basting.
  • a package of ricrac in your desired color.
  • coordinating thread.
  • your sewing tools, including your iron and ironing board.
 To embellish my towels, I cut a piece of fabric 1.5" wider than my towel, and my desired width plus 0.5". I then interfaced the intended size...leaving 0.25" at the top and bottom for folding under. 

I ironed in both the top and bottom 0.25", and then added some scraps of heat n bond lite to help with keeping the fabric in place.


I positioned the fabric panel where I wanted it on the towel, and ironed it into place.


I cut ricrac the same size as my panel, and then pinned it in place over the fabric panel.


To finish the edges, I folded the ricrac and fabric together and pinned it in place.


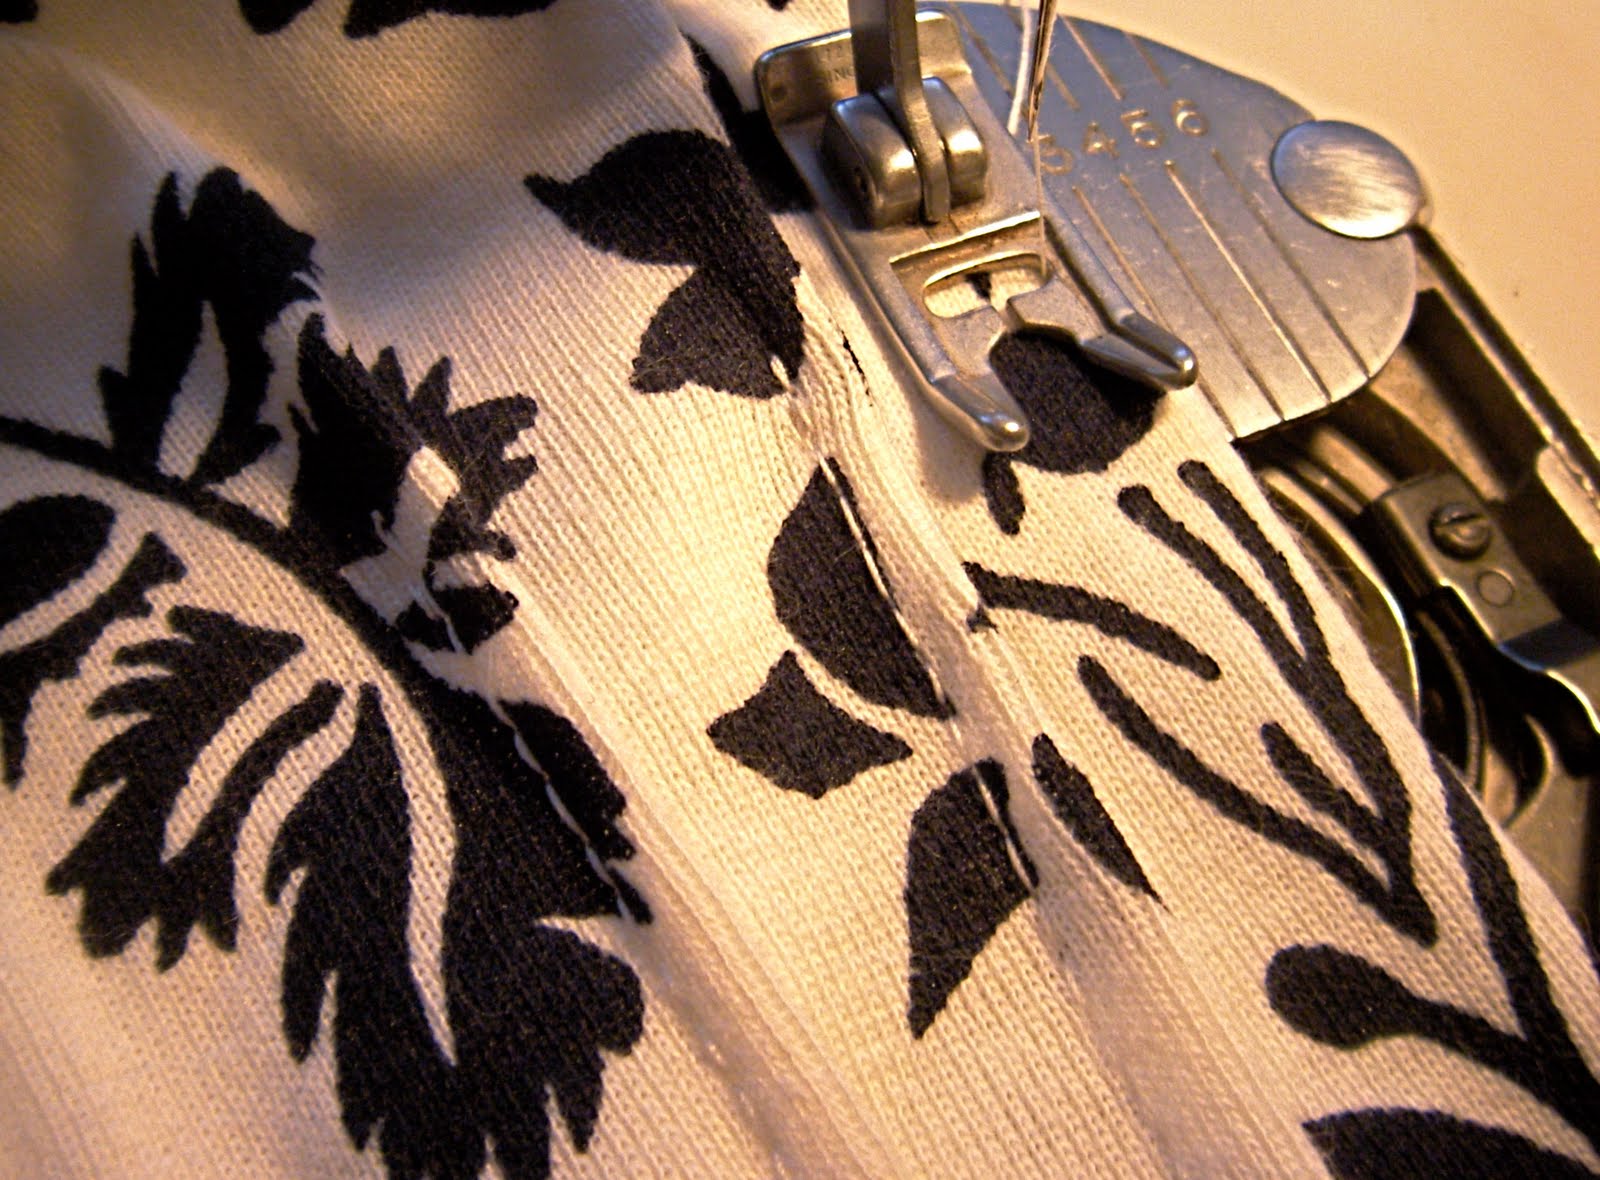
I stitched everything together using a red thread for the top of the stitch, and ivory in the bobbin.


I also sewed along each edge.  It isn't perfect, but it will keep the folded edge out of view.


And there you go, my take on embellishing a hand towel with fabric, and ricrac for fun.


Another take on the same theme, for my laundry room, I used giant ricrac, and basted it in place under the fabric panel before I sewed it in place.


I also used a double top-stitch for a decorative touch.


With the giant ricrac, I folded a longer portion of fabric behind the towel.

This method would work for embellishing any towel, and would be a fun housewarming gift or wedding gift.

Featured on Craft Gossip, and One Pretty Thing
Linked to Kojo DesignsTatertots & Jello, and Be Different...Act Normal.
giveaways

10 August 2010

Guys need toiletry items too.

Several weeks back, I got an email from a sweet lady who used my pedicure kit tutorial to make her son a toiletry kit for scout camp. 


Michelle used old BDU fabric from her husband's uniforms to make an uber-cool toiletry kit.  I was completely smitten.  I'll have to remember this one when my big boy heads to scout camp in a few more years. 


I was so excited she used my tutorial, and even more impressed that she made the whole thing with supplies she had on hand.

Then, I checked her blog again...and she's made MORE.  Check it out:


The hot pink bias tape and handles are my favorite!
(All images via Rosetta Stone.)

09 August 2010

Why I need a serger

Sew Mama Sew is having a spectacular giveaway.  A Husqvarna Viking Serger is on the line.  The question is...how would a serger make my life better?


Let me count the ways:
1.  Finishing seams would be MUCH faster.
2.  I would finally feel brave enough to try my hand at knits...t-shirts, leggings, maybe even swimsuits like Dana. 
3.  With cool features like differential feed and optional presser feet, I can sew a variety of fabrics and add interesting decorative details.
4.  Two words:  Rolled Hems.
5.  I'd be able to make my etsy shop more profitable.  Time=money.
6.  I can stop lurking around ebay for a used serger.  I watch them, but really, I'm too chicken to purchase something that expensive without a warranty and customer support. 
7.  I'd have a real excuse to carve out my own sewing space...and to buy a bigger house next time!
8.  I won't have to borrow my friend's serger to customize my baby's prefold diapers.
9.  I would be brave enough to make my kids underwear like Anna.  (It bothers me to no end how expensive it is to buy underpants! Come on, it's just a little bit of fabric!)
10. Complete sewing freedom would be at my fingers, and I wouldn't have to work my beloved Bernina as hard. 

I probably won't win, but someday in the distant future, I will have a serger.  I will. I WILL.  Until then, the two year old part of me that wants instant gratification will look like this:

Kids Bathroom Update

Along with my bathroom, I've updated the kids' as well.  A while back I saw this post on Anna's blog.  I loved what she did, and was inspired to do something along the same lines.  I'd already updated the shower curtain here


I found a couple cute shaped frames at a local thrift store...($1 each!) and spray painted them to match the floating shelf.  I framed some of the fabric I had chosen inside.


I also added the "clean" message on my wall.  I painted it like I did my hallway wall, using this tutorial to transfer the lettering to the wall, and then I hand-painted over the graphite with a coordinating green.  It's a not so subtle reminder to my children of what a bathroom is for, and should stay! 


The fabric buckets were made following this tutorial from Ric-Rac.  The shorter buckets are perfect for holding t.p., the taller one keeps my girls' combs and brushes from over-running the bathroom. I found the fabric at my local fabric store.  It's kind of a dive, but I find lots of treasures there!


I made bias tape of the stripey fabric and made towel holders for the kids towels.  We had a double towel rack in the bathroom previously, but the silly "provided" wall anchors would not hold it.  So my husband had the idea of just using hooks screwed into the wall studs...no more dry wall issues.  However, it was hard for the kids to get their towels to stay...problem solved.  I zigzag stitched the tags on tight, and then followed with a box stitch for extra staying power.

Finally, I updated the towels.  I could not afford to replace towels, but we needed a "big girl" towel for Baby.  I had a set of two ivory bath towels, with matching hand towels that we received as a wedding gift (a long time ago...)  They became the girly towels with new initials appliqued for each girl.   Here's a girl and boy towel for comparison. 


 The hand towels needed a facelift also, so I did this:


I've posted a little tutorial HERE to show you how to embellish your own towels. 
I love the primary colors in my bathroom.  It's perfect for my children.

Linking to Sew Can DoSugar Bee, and Tea Rose Home, and Someday Crafts.

07 August 2010

Sewing 101 with Amber, Creating Pintucks

Welcome to the monthly continuation of Sewing 101.  The first Saturday of the month I'll continue to feature Sewing 101 guests.  

Hey everyone! I'm Amber from Ruffles and Roses, and I'm going to be teaching you how to create pintucks.

Pintucks are an awesome way to add detail to any project, but what I use them for the most is shaping garments. They're a perfect way to take something in that's a little to big in the sides, or a little to baggy in the back or under the bust. And once you get the hang of them they're really easy!

The first thing you need to do is decide where you want your pin tucks to be and how many you want. Then, for each pintuck do the following:

Fold the fabric down the line you want the pintuck. Basically, where you want the vertical pintuck to be, fold the fabric in half so that line is on the fold.

Place a pin where you want the pintuck to start and end. You will then sew along the fold from pin to pin. How think you want your tucks to be is up to you- the thicker the tucks, the more fabric you'll be taking in. I usually like up the fold of my fabric with the presser foot of the sewing machine - that gives me the perfect size.

After you do your first pin tuck, repeat until you've completed them all!


This is what your pintucks should look like before you iron them. Usually it is a good idea to do an even number of pin tucks, and then iron half of them down one way and half of them the other. This way they're symmetrical. For example, on the right side of a garment I usually iron my pintucks to the right, and on the left...to the left!


Here's a shirt I made with pintucks in the bodice. These pintucks are spaced out quite a bit; normally I do them closer together:


Thank you so much, Amber. The pintuck detail really makes a fabulous addition to so many projects. Be sure to check out Amber's blog. She does some amazing clothing tutorials, and has a couple tutorials geared to the beginning sewist for french seams and basic hemming.

04 August 2010

Girls' Hair Stuff Organization

A lot of July was spent going through closets and drawers, taking care of all the hidden messes in our home that I allowed to slide while in school.  One of the worst offenders was the drawer where we kept all the hair stuff for my girls.  Be prepared...it's pretty scary.


So, I divided and conquered.  For all the clippies, I made a framed organizer.  I didn't have a specific tutorial I followed.  For the remaining ribbons and headbands, I used the hanging basket tutorial from The Mother Huddle


I found this frame at our local thrift store.  It was the perfect size, and I could reuse almost everything.  I had a twinge of guilt removing and throwing away the embroidery, so here is a photo to preserve it in cyberspace:


I removed all but the backing board, and then primed and painted the frame.


I cut batting about 0.25" bigger than the board, and my chosen fabric about 2" bigger than the board with my pinking shears.   (Thank you, Michaels, for having your Gingher pinking shears on clearance for $9.99!)


I then glued the fabric to the back.  I used hot glue for quick hold, and tacky glue for a more permanent one.


I attached two ribbons equal distances from the center to hold the clippies.


After the glue was dry, I decoupaged scrapbook paper to the back to cover all the folded fabric.


When everything was dry, I fit it to the frame, securing with some glue.


For my hanging baskets, I made fabric labels to organize by color.


I made them with the same method I used for my Toddler Quiet Toy.  I measured where I wanted them to be on the front of the pockets, adhered with some heat n bond lite, and sewed them to the outer fabric before assembling.  One change I made, rather than interface both the outer and lining fabric, I used fusible fleece to strengthen the outer fabric, and did not interface the inner.  I love how sturdy they are.  One tip, if you choose to do the same, be sure to trim down the fleece about 0.5" from the tops, so you don't have as much bulk to fold down.


Here are my finished baskets close up:


I spent a total of $6 for this project.  I used scraps and materials I had on hand, and only had to purchase the thrift store frame and cafe rod.  My girls are having fun picking what to hair accessories to wear that matches their outfit.

And the best part, our drawer now looks like this:


We've also been going through other scary drawers, closets, and other places prone to clutter. It has been very liberating.


UPDATE:  I was asked to share my favorite tips on saving money on craft supplies at FaveCrafts Blog.  You can see all the answers HERE.

Linked up with A Few of My Favorite Things, Just a Girl, Tatertots and Jello, Kojo Designs,  Creative Jewish Mom, Under The Table and Dreaming, The Girl Creative, and Skip to My Lou.
Featured on Tatertots and Jello

Destri added more the tutorial I used for the hanging buckets.  You can see the whole post HERE.  She even referenced my version.  Thank you!

02 August 2010

Master Bathroom Update

While Sewing 101 has been happening, I've been working hard to accomplish some things on my to-do list that had been there way too long.

For all you new readers, I recently graduated last spring, and with school finally finished, and my work load reduced, it was time to attack that list.  Of course, I keep finding fun new projects all over the craft blog circuit so I don't think I'll ever completely finish that list!  I wanted to show off how my bathroom came together and give you some links to the tutorials that helped me complete my project.

Before:

After:


The master bath in our home has been rather sterile and utilitarian, until now:

The new art was made courtesy of Anne at Decco Mod's Spa Art Tutorial, which she created for SYTYC, AND courtesy of Bee In Our Bonnet who included 2 12x12 artists canvases in a fabulous giveaway I won.  I'll show you what I did with the other canvas in my laundry room in a later post. 


The Inch by Inch box and photo holder I found tucked away in my craft stuff for some reason.  They were perfect for the little floating shelf.  I made a bunch of laminated quote cards to swap out from some of my favorite poets.

I uploaded a printable pdf  HERE if you want to make your own laminated quotes...I'll share the how-to soon.  When you go to Scribe ID, be sure to use the tool bar on the page itself, not the pop-up one.  Also, to print full-size, download first and print through adobe reader.  I promise the font looks fine when you print it... for some reason it doesn't show up well on the site.   

This fabric basket was made from a tutorial by Ayumills at the Pink Penguin.  I made the larger size, with dimensions found in her FAQ section.  It was just right to hold two rolls of toilet paper. 

I am so happy with how this little project came together.

Linking up to Skip to My Lou, Sew Can Do, Sugar BeeToday's Creative Blog, and Blue Cricket Designs
Print
Related Posts Plugin for WordPress, Blogger...