
Hey everyone! I'm Amber from Ruffles and Roses, and I'm going to be teaching you how to create pintucks.
Pintucks are an awesome way to add detail to any project, but what I use them for the most is shaping garments. They're a perfect way to take something in that's a little to big in the sides, or a little to baggy in the back or under the bust. And once you get the hang of them they're really easy!
The first thing you need to do is decide where you want your pin tucks to be and how many you want. Then, for each pintuck do the following:
Fold the fabric down the line you want the pintuck. Basically, where you want the vertical pintuck to be, fold the fabric in half so that line is on the fold.
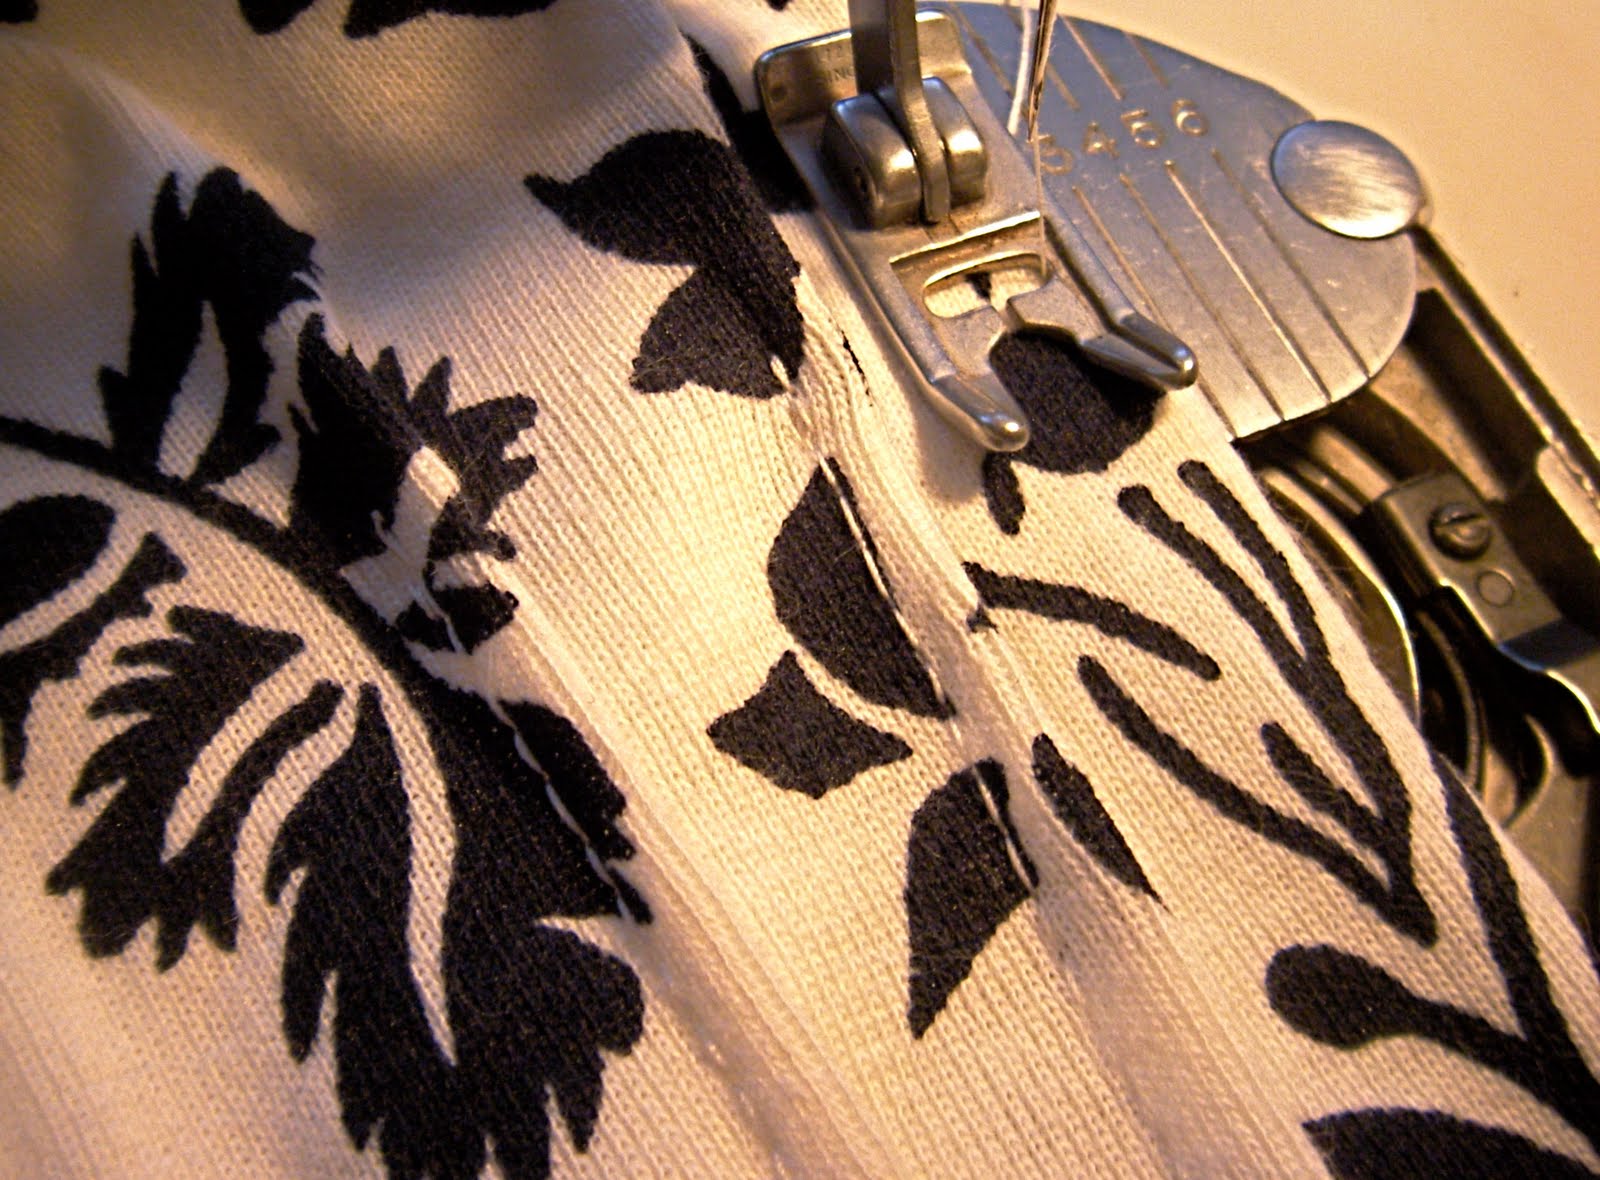
Place a pin where you want the pintuck to start and end. You will then sew along the fold from pin to pin. How think you want your tucks to be is up to you- the thicker the tucks, the more fabric you'll be taking in. I usually like up the fold of my fabric with the presser foot of the sewing machine - that gives me the perfect size.

After you do your first pin tuck, repeat until you've completed them all!

This is what your pintucks should look like before you iron them. Usually it is a good idea to do an even number of pin tucks, and then iron half of them down one way and half of them the other. This way they're symmetrical. For example, on the right side of a garment I usually iron my pintucks to the right, and on the left...to the left!

Here's a shirt I made with pintucks in the bodice. These pintucks are spaced out quite a bit; normally I do them closer together:


Pintucks are an awesome way to add detail to any project, but what I use them for the most is shaping garments. They're a perfect way to take something in that's a little to big in the sides, or a little to baggy in the back or under the bust. And once you get the hang of them they're really easy!
The first thing you need to do is decide where you want your pin tucks to be and how many you want. Then, for each pintuck do the following:
Fold the fabric down the line you want the pintuck. Basically, where you want the vertical pintuck to be, fold the fabric in half so that line is on the fold.
Place a pin where you want the pintuck to start and end. You will then sew along the fold from pin to pin. How think you want your tucks to be is up to you- the thicker the tucks, the more fabric you'll be taking in. I usually like up the fold of my fabric with the presser foot of the sewing machine - that gives me the perfect size.

After you do your first pin tuck, repeat until you've completed them all!
This is what your pintucks should look like before you iron them. Usually it is a good idea to do an even number of pin tucks, and then iron half of them down one way and half of them the other. This way they're symmetrical. For example, on the right side of a garment I usually iron my pintucks to the right, and on the left...to the left!

Here's a shirt I made with pintucks in the bodice. These pintucks are spaced out quite a bit; normally I do them closer together:
Thank you so much, Amber. The pintuck detail really makes a fabulous addition to so many projects. Be sure to check out Amber's blog. She does some amazing clothing tutorials, and has a couple tutorials geared to the beginning sewist for french seams and basic hemming.


7 happy thoughts:
great tip!
i NEED to try some pin tucks out! they are so cool looking. and look easy too!
I love the dimension that pintucks add to a project. I linked to your tutorial over at Craft Gossip Sewing:
http://sewing.craftgossip.com/tutorial-create-pintucks-on-your-sewing-project/2010/08/09/
--Anne
Thanks for the tutorial! I've been a little scared of pintucks because I've never tried them before. Everyone says they're not nearly as scary as they look but you've managed to convince me. I shall try them on my next project.
nice tip
The edge o a presser foot is usually 1/4" There's a typo in the tute It says, "I like up my pintucks with my presser foot." I think Rose meant "I like to line up" I never used pintucks because I wasn't sure how they would affect the fit of a garment, but with this advice, I see they are meant to improve fit of a larger garment. Sometime an XL is just right and sometimes it is too big. Love this hint.
Oops! I referred to you as Rose, I guess I am on a different site. Sorry, Christine. I think it is time to get off the computer...my brain is scrambled.
Post a Comment
How sweet of you to stop by. Kind words are always welcome.