

I made Dolly's birthday messenger bag in a way a bit different from others you may have seen around. You actually sew a fabric box. This was important because of it's intended use...to house plush critters, dolls, and all their paraphernalia. Want to make one for a kiddo in your life? Here's the how-to.
You'll need the following:
- 1/2 yard heavy weight fabric (like denim) for outer bag
- 1/2 yard quilting weight fabric for lining
- 1/4 yard interfacing, light weight is fine.
- scraps of fabric for embellishment
- matching thread
- magnetic snap closure, ( I found mine on etsy here.)
- iron and ironing board
- sewing tools, including scissors, cutting mat, ruler and rotary cutter, plus pins and anything else that you like to use when you sew...especially your sewing machine!

You'll need to cut the following pieces:
- Back of the bag and flap closure, 12" x 19.5" rectangle. On this piece, you'll want to round the corners of your flap.
- Front of the bag: 12" x 8" rectangle, one of outer fabric and one out of lining + one out of interfacing.
- Sides of bag, 8" x 5.5", two of outer fabric and two out of lining, + 2 out of interfacing.
- Bottom of bag, 12" x 5.5", one of outer fabric and one of lining, + one out of interfacing.
- Strap, 3" x 30", one of outer fabric, one of lining.
- Back lining, two pieces, one 12" x 9", another 12" x 11.5" (be sure to round the corners of the longer piece to match the back piece.)


Step two. Prepare all your pieces and embellishments. Apply interfacing to each of the lining pieces (except the strap and back flap linings pieces), following the manufacturer's instructions.

If you want to add an applique to the flap, as shown on Dolly's bag, do so. If you need help on applique, please refer to this Sewing 101 Applique Tutorial from Traci.

You'll also apply your magnetic snaps at this time. If you need help using a magnetic snap, Rae has an excellent tutorial HERE. The first outer piece goes on the upper lining of the back flap. I placed it centered, at 2.5" from the rounded edge. One additional thing I do, is sew tiny button holes around the place where I'll be cutting to insert the magnetic snap.

The receiving portion of the snap goes on the outside piece of the front of the bag, 2.5" from the bottom of the bag.

Step three. Add optional pockets. If you'd like to add pockets for holding all that paraphernalia, this is the time to do so. I added two pockets to Dolly's bag lining. The first is a pleated pocket in the bag side lining, another is a patch pocket on the back.

This is a great way to use up scraps.
Step four. Sew the strap together. Place the pieces right sides together, and sew a 1/4" up each long side.

Carefully turn the strap right side out. Press, then topstitch.

I would recommend two rows of stitches, to add more strength. I did a decorative stitch just for fun. A word on strap length, I did a 30" strap so that Dolly could wear her bag across her torso. You may wish to make it longer or shorter depending on the child you are making the bag for.
Now we're ready to put it all together.
Step five. Sew the lining together.

Match up the front and side pieces, with the 5.5" pieces going together. Add the shorter back lining. It will stick up above the other pieces, and that is as it should be. Sew with a 1/4" seam allowance. Pin the lining bottom to the side pieces.

Sew to the side pieces, making sure to fold the side seams toward the side pieces as you go.

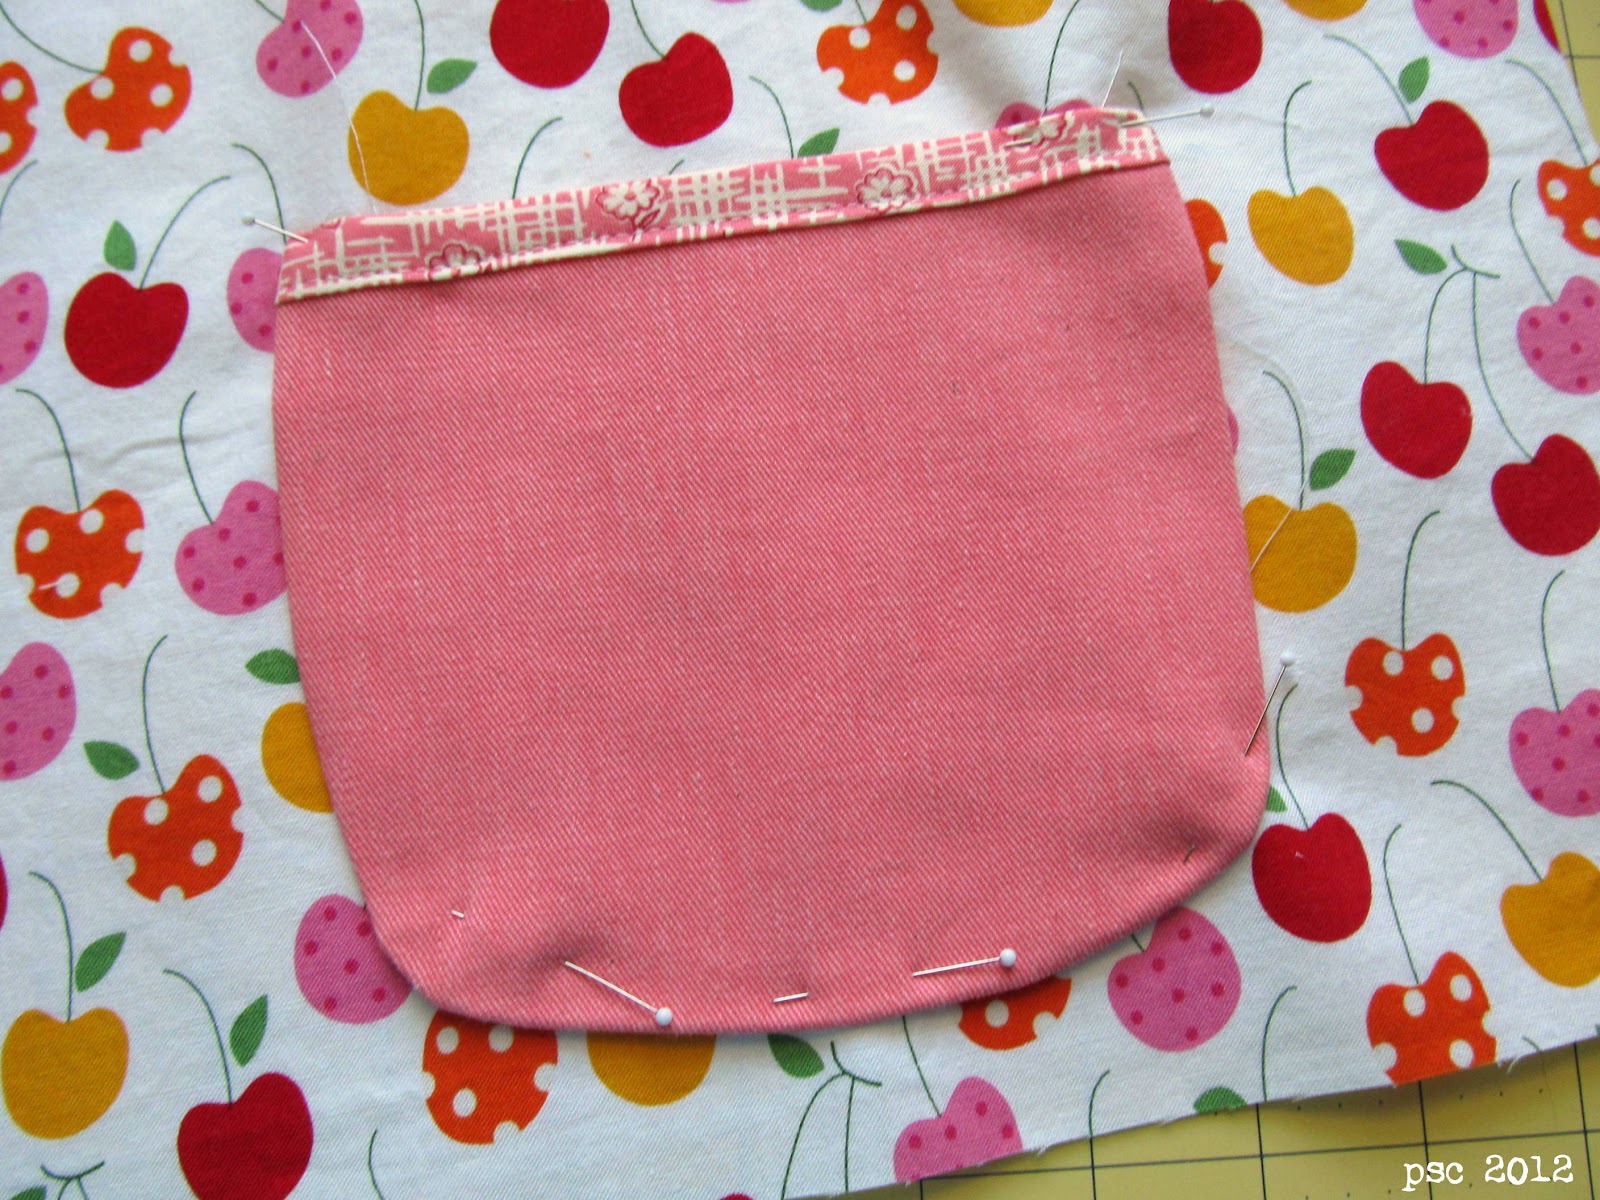
Step six. Prepare the top flap. Matching the rounded corners, right sides together, pin the lining to the bag flap. At the bottom edge of the lining, fold the fabric up 1/2".

Sew the outer sides together, using a 1/4" seam allowance. Trim and notch the curved corners, (or use my cheater method),
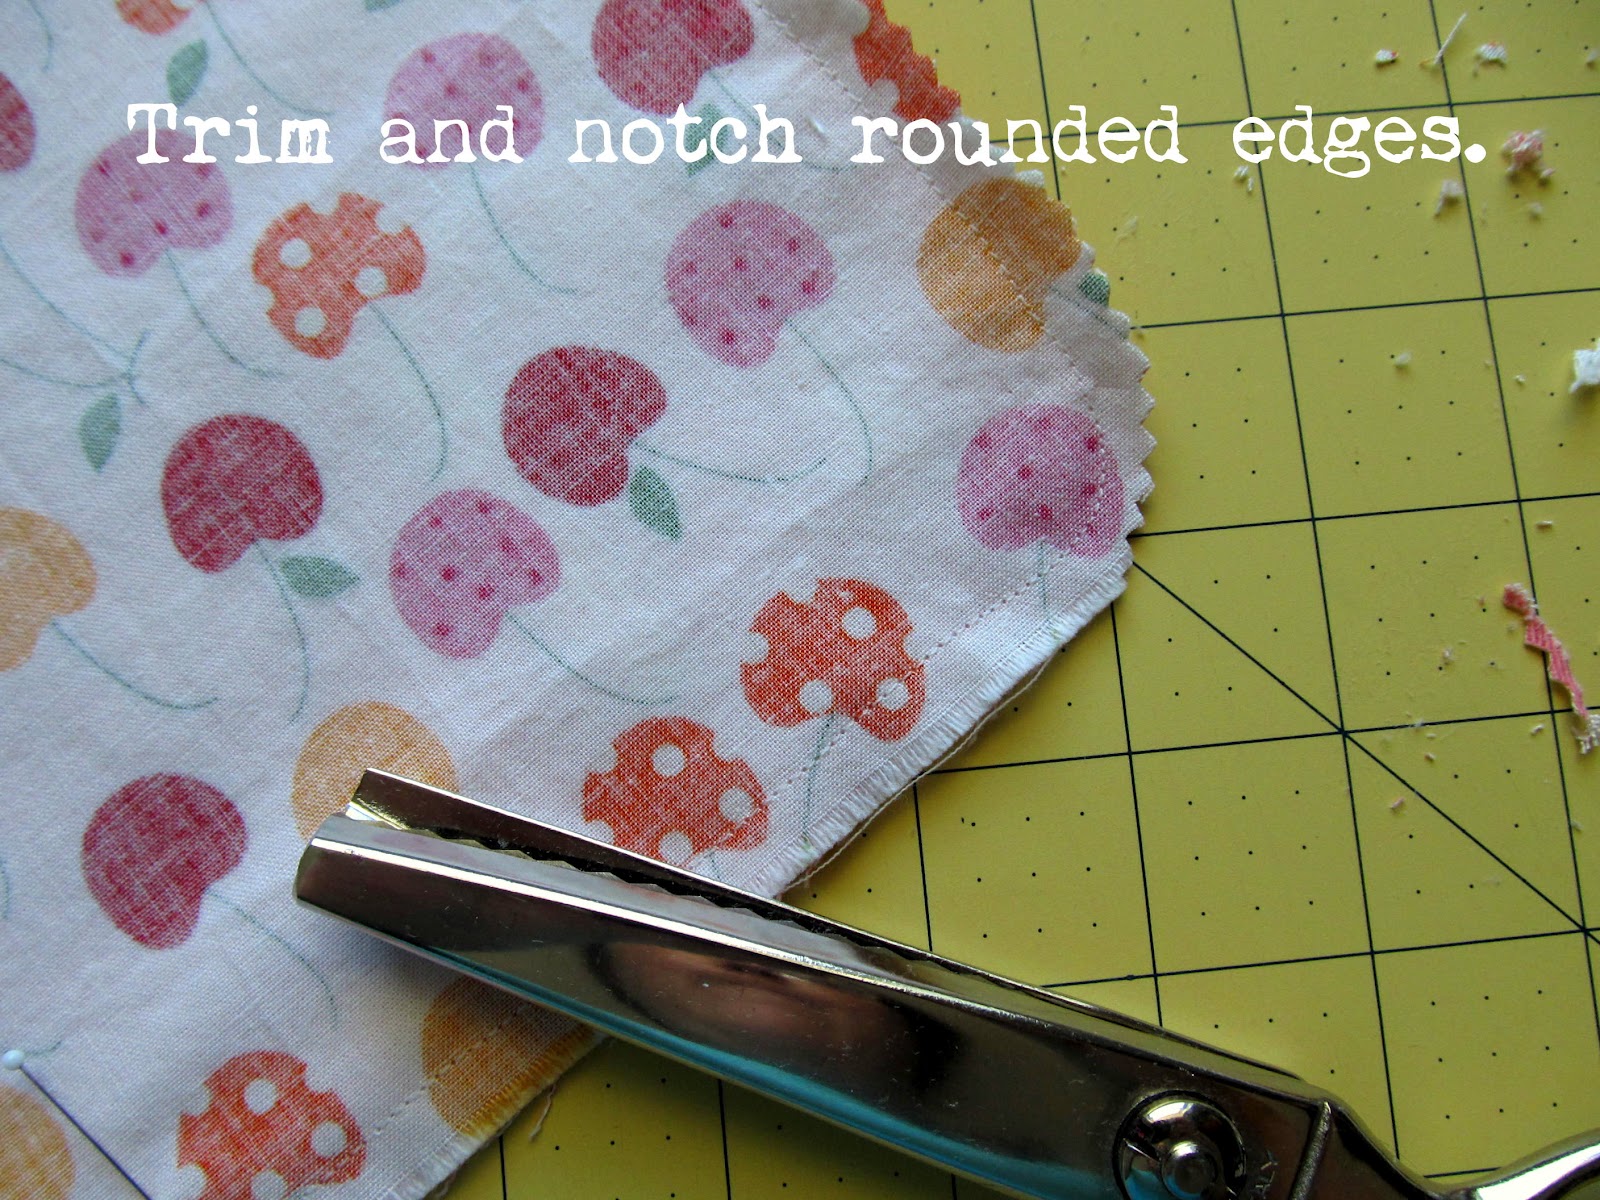
and turn right side out. Press the flap with your iron to hold the curves.

Step seven. Sew outer bag parts. Just as you did with lining, match the 5.5" sides with the front, and pin in place.

You'll also pin the back flap piece and sew it to the outer bag sides, placing so the bottom of the pieces all match. Sew with a 1/4" seam allowance. Pin and sew the bottom piece to the sides. Be sure to tuck the side seams toward the side pieces as you sew.
Next, pin the strap, right sides together, and raw edges matching, to the outer bag sides. Make sure not to twist the strap so that it becomes one continuous piece. (1/4" seam allowance.) I poked my straps out a bit when sewing to make sure they would be secure.

Step eight. Sew the lining to the outer bag. First, With the outer bag wrong side out, tuck the lining inside it, so that the right sides are together.

Sew the lining to the outer bag, from the one side, to the front, to the other side, NOT stitching the back yet.
Turn the bag right side out. Tuck the shorter bag lining underneath the longer, folded back lining on the flap.

Carefully press and pin in place. Sew a topstitch along the folded fabric,


Topstitching will give the bag extra strength, and make it look more finished. Take your time around those curves!
There you have it, a boxy messenger bag perfect for toting stuffed animals, dolls, and all those special things a child wants to tow around.

Enjoy!

p.s. Since it's been a while since I wrote a tutorial, please let me know if there's something amiss. I'll be sure to correct it. :)
Featured on Craft Gossip and One Pretty Thing!
Sharing with the Southern Institute and Sew Much Ado.


11 happy thoughts:
Since I don't read tutorials until I am seriously considering doing them, I can't judge. However, I can say I am glad you jumped back on the horse. I need to start creating again too...
Did the horse throw you? ;)
What a neat idea for a bag for a little one! I foresee another trip to the Hobby Lobby for some heavy weight fabric...
Thanks for the great tutorial!
What a fantastic tutorial! I hope you will consider stopping by SewSet, a new on-line sewing & pattern search engine, and uploading a photo of this as well as some of your other tutorials and patterns! I would love for others to be able to find this when searching the directory!
Thanks so much for sharing!
- Jess, SewSet.com
Great project, love the fabric choice and appliqued initial and your little messenger model is adorable!
Love the color, a lot. But your model is the best, that smile!!!
I agree with the others... You have the cutest little model, Chris!
Cute bag-and she's adorable!
I have been looking for a roomy, cross-body bag pattern for a while. I know this is for your little one, but it will be perfect for toting around as a diaper bag/purse. Thanks for the tutorial!
What a beautiful girl to sew for! and, as usual, a great tutorial. thanks!
Thank you so much for this post. I want to let you know that I posted a link to your blog in Creative Busy Bee Craft Inspirations, under the Page 5 post on Aug. 25, 2012. Thanks again.
Thank you for posting this tutorial. I have posted a link to it on my blog - http://alittlebirdmademe.com/2013/07/19/friday-finds-a-list-of-23-free-tutorials-and-patterns-to-make-messenger-bags/
Post a Comment
How sweet of you to stop by. Kind words are always welcome.