As seen on
SYTYC, the Teacher's Cover-all Apron. If you wish to make one for your favorite teacher, or one for yourself, here's the ho-to:
- 1 yard of denim fabric
- 1 yard of decorative fabric
- 1/2 yard giant ric rac
- 2 1" D-rings
- matching thread
- your sewing tools...cutting tools, sewing machine, and marking tools
From the denim, cut:
- 39.5" by 24.5" rectangle
- 12.5" by 12.5" square
- (2)10" by 10" squares for pockets
From the decorative fabric, cut:
- 12.5" by 4.5" strip
- 16" by 4.5" strip
- 42" by 4.5" strip
- 86" by 2.25" strip for edge of skirt*
- 108" by 4.5" strip for tie*
- (2) 10" by 2.25" strips for pockets
(*to make these long strips, cut 4.5" strips of fabric, and piece together as needed. I'll show you details as we go.)
Now for the fun part!
Cut a 12.5 inch length of ric rac, and pin it in place to the apron bib (the 12.5" denim square.)
I sewed the ric rac 1/8" from the edges, along both sides, to secure it.
Take the smallest strip of fabric, and iron it in half and then iron each side to the middle.
Now, prepare the 16" strip. Iron just as you did the first, but you'll want to fold the end so that it looks finished when you sew it closed.
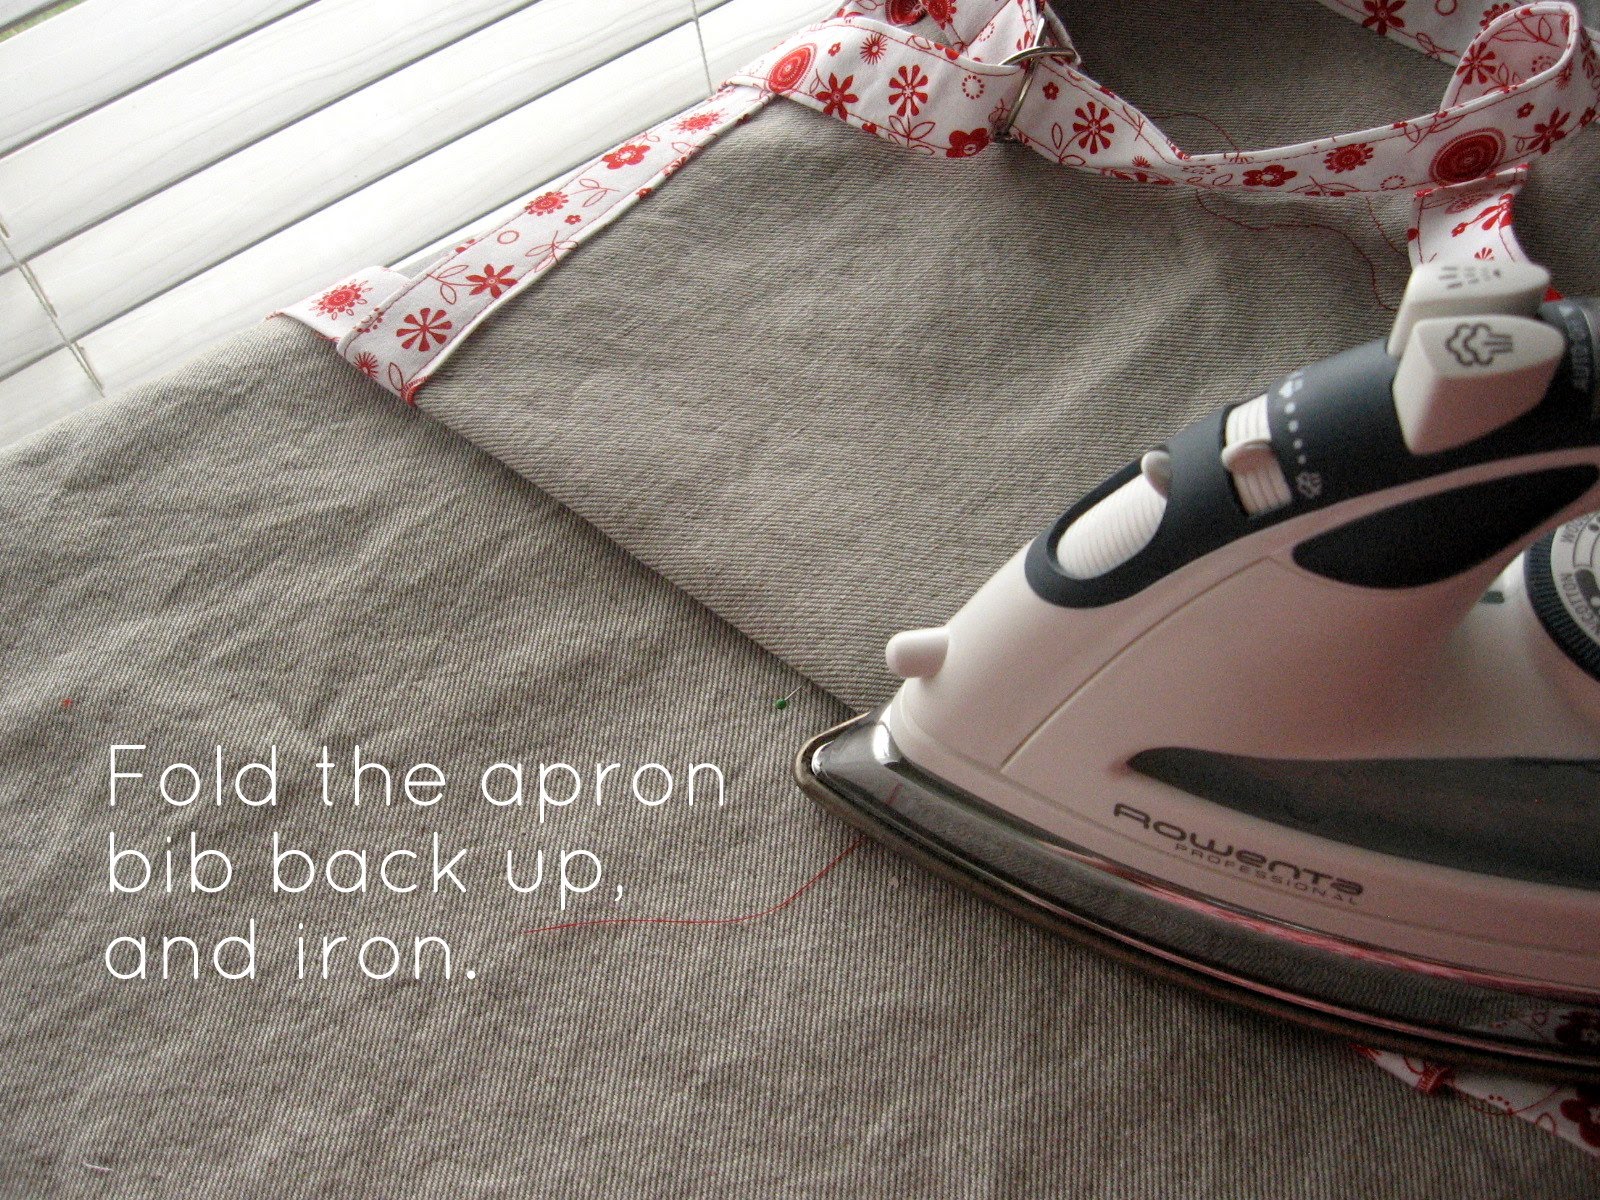
Now, tuck the strip around the right side of the apron, and sew in place. It should stick out above the apron bib.
Prepare your 42" strip as the other two.
Time to prepare your apron skirt.
First, grab a large plate.
Join together your 2.25" strips to make an 86" long piece. To do so,
Be extra careful as you sew around the curves. Press the seam out with your iron.
Using your best topstitch, sew from the right side of the fabric 1/8" from each edge. This way the fabric strip along the skirt will match the apron bib.
Set the skirt aside for a minute. Time to make the apron tie.
Iron the tie so the edges are crisp.
Ready to assemble your apron?
Grab the apron skirt, apron bib, and tie. Fold in half so you identify the center.
Open up the tie so you can see the center, but the sides are still folded in.
Baste the apron bib in place, about 1/4" from the edge of the bib.
The apron bib should overlap the apron tie.
Add a few pins to hold the apron bib in place, and turn everything over so it is right side up.
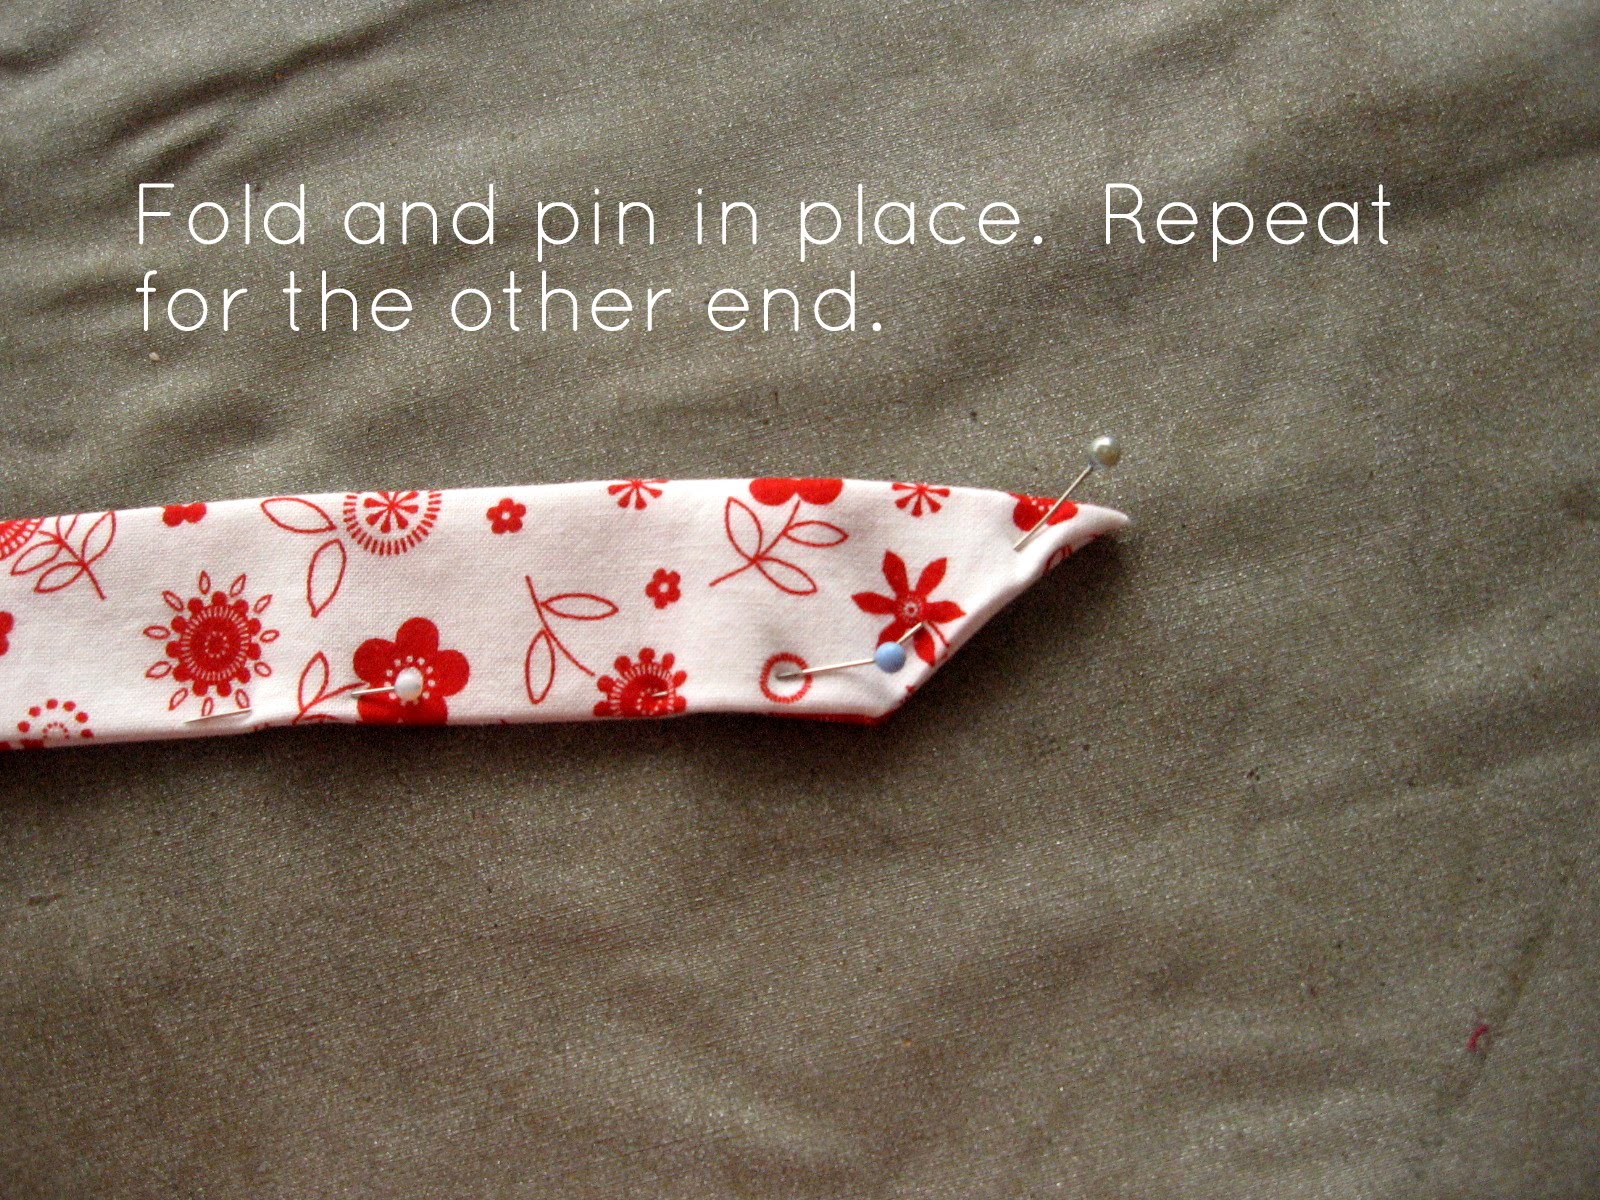
Before you sew everything together, add a fun touch to the ends of the apron ties.
Ready to sew the ties and apron all together.
At this point, the apron is complete. Keep going if you'd like to add the pockets.
Take your two 10" denim squares and corresponding 10" by 2.25" fabric strips.
Fold and iron your strips in half. Sew the strip to one side of the pocket right sides together with a 1/4" seam. Repeat for second pocket.
Iron strip back down so it covers the seam, and pin in place. Topstitch both the top and bottom of the strip so it matches the apron. Cut two 10" pieces of ric rac.
Topstitch the ric rac, as you did with the apron bib. Repeat for second pocket.
I folded the fabric so that the tucks folded outwards towards the pocket edges.
Keep the pins holding the top tucks in place for now.
Iron in the edges of each pocket as shown. I folded in the pocket corners, folding the tip in first and then matching the sides. (Kinda like wrapping a present.) Repeat for other pocket.
Now, identify where you want to place your pockets. I put on the apron, and marked a comfortable distance for resting my hands. I then centered the pockets at that distance below the apron bib sides, and pinned the pockets in place.
You're now done! My favorite feature of this apron is that there are no exposed seams, and all the fabric strips coordinate. The doubled up fabric in the should strap and ties also make it more comfortable. Plus, the pockets turned out pretty cute!
Featured on
Craft Gossip and
Totally Tutorials!
Linking to
Women Who Do It All,
Just A Girl,
Someday Crafts,
Somewhat Simple, and
Kojo Designs.


 n
n


7 happy thoughts:
That's a very nice gift for any teacher. And I just have to say how much I love that red and white fabric. So cute!
That's a great tutorial, thanks! And it would be cute for non-teachers too! :)
What a fabulous teacher gift! It turned out great, and looks like a great tutorial!
Awwwww!! This apron is so, so cute!!!! I cannot wait to try it! Thank you for such a gorgeous post!!! :)
What a great tute!! The pictures are all so great!! Thanks for linking up!!!
Il est très beau et j'adore le choix de couleur, bravo!
Hey there Chris! I featured your apron tutorial on my blog today!
http://theadventuresofroryandjess.blogspot.com/2011/03/apron-tutorial-round-up.html
Thanks for the tutorial and inspiration!
Jess
Post a Comment
How sweet of you to stop by. Kind words are always welcome.