

Well, this became a bit bigger than I planned on, so I'm breaking it into two parts! I hope you'll find it helpful. To begin, go HERE to download your pattern guide. I relied heavily on indietute's peasant blouse as a base for this pattern. Please be sure to visit Charity's blog. She has some wonderful ideas.
Step one. Gather your materials:
- One yard fabric (for size 8-10, less for smaller tops)
- small remnant lightweight interfacing
- matching thread
- two matching buttons (1/2" to 7/8" size)
- your sewing stuff, including scissors, pins, sewing machine, washable marking pen, iron, etc.

Print your pattern guide (HERE). The blouse bodice is a rectangle (you'll be cutting on the fold), which you then shape following my guide.

One big change with my design, is that you need to differentiate the front bodice from the back bodice. After you've cut both bodice pieces and shaped the neckline, choose one piece for the front, and cut an additional inch down (on the fold.)

The sleeves need to be shaped to match the arm holes on the bodice. It should look something like this:


Using the pattern pieces, cut out your front and back neckbands, arm bands. You'll cut a 1" by 5" piece of fabric to line back neck slit.
You'll also need a 1" by 2" rectangle piece cut on the bias for the button loops. So you should have the following pattern pieces:
- Front and back bodice pieces
- Two sleeves
- Two arm bands
- Two front neck band pieces
- Four neckband pieces
- Neck slit lining
- button loop piece
Step three. Interface one front neckband, back neckbands and both armbands.

Step four. Add the neckline slit to the back bodice piece. Cut the center back about 2" down from the neckline. (I've used this technique on my Summertime Romper Pattern.)

Take that lining you cut, (1" by 5" piece), and pin it to your slit opening.

Sew the two pieces together. This is the trickiest part! You want to get as close to that point as you can.

Now open up the neckline, and press the other side of the lining in 1/4".

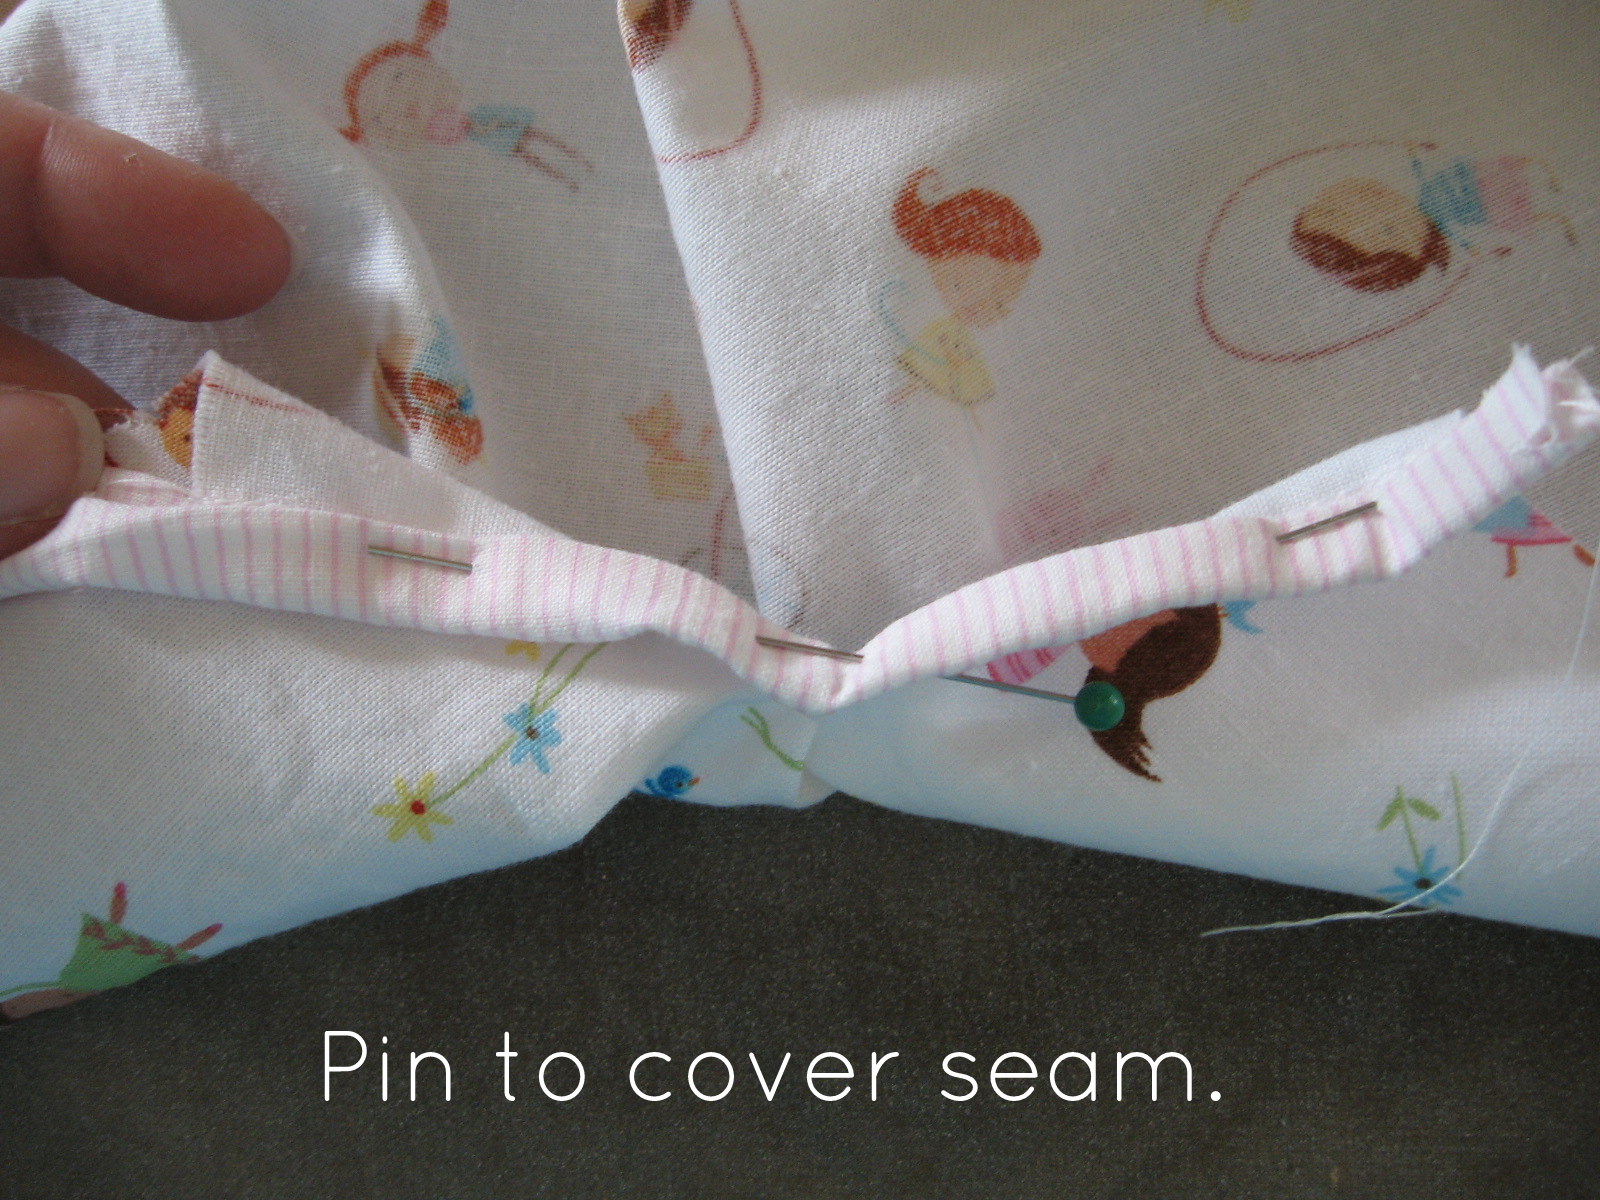
Fold over the lining so that it covers the seam.
Sew over the lining piece.

Press so that it lies closed.

Finally, fold over and sew a little square to hold it all together.


Step five. Make your button loops. I use the same method I did for my Grown-Up Peasant Blouse and Portfolio Dress.


BIG NOTE: Be sure you put the neckloops so that they close the same direction that you sewed the neck slit closed. I goofed this the first time!
Click HERE for part two!

Featured on:
Craft Gossip! and Be Different Act Normal!
Sharing with:
Creative Jewish Mom


9 happy thoughts:
Oh - she so looks like you! :)
Great tutorial!
you're amazing. Some day you'll have to share with us the secret for getting so much sewing and blogging time. Please!
Pinning this.
awesome Chris, can't wait to see the rest!
Agreed! She is SO you, oh my goodness! Great tute Chris, thanks.
Adorable, Chris. I see some Portfolio dress influence in there :)
I have the perfect material to make this for my daughter. Thank you for sharing. This is great!
I love this top!!! The loose fit and a cotton woven are perfect for summer!
I linked to your tutorial on Craft Gossip Sewing:
http://sewing.craftgossip.com/tutorial-girls-banded-peasant-blouse/2011/05/19/
--Anne
What an adorable model!! Your steps are so clear and easily understandable - thank you!
so sweet, and an amazing tutorial! thanks so much for sharing on Craft Schooling Sunday, great to see you!
Post a Comment
How sweet of you to stop by. Kind words are always welcome.