
UPDATE: I have a mini version tutorial HERE!
GATHER YOUR MATERIALS AND TOOLS, and PRINT THE TEMPLATE HERE.
- Scissors
- Pins
- Seam Ripper
- Sewing Machine
- Measuring Tape
- Rotary cutter, Ruler, and Cutting Mat
- 8" by 6" Fabric scraps, two for each heart
- 1" by 40" Fabric strip for ruffle, one for each heart
- Iron-on interfacing, light or medium weight
- 100" Fabric bias tape in coordinating color
- Matching thread
Step one. Print out your template, and cut out the desired number of hearts.

(Your template is slightly larger than seen here, because I added the seam allowance of 1/4". This photo was taken of my original pattern. Yours will be much nicer.)


Step two. Prepare the ruffles.


Now, sew a gathering stitch. To do so, using the longest stitch length, sew at 1/8" from the rough edge.


Step three. Pin the ruffle to the interfaced heart.

To begin, direct the edge of the ruffle strip outwards and pin. Repeat until you've covered the outer perimeter of the heart.

Using a small zigzag stitch, sew the ruffle to the heart.
Step four. Place the two halves of the heart right sides together, and pin.

Sew the heart together, at just under 1/4". Be sure to leave open about two inches so that you can turn the heart right side out. Before you turn the heart out, cut into the top of the heart to allow the heart to be turned out completely.

Turn the heart right side out. You can pull on the ruffle to make sure the heart is turned out completely. Iron the seams open, and fold over and pin closed the hole you left open for turning. Topstitch the heart.

Step five. Using the button-hole template, mark the position of the button holes with a pen.

I prefer to use a pen because the marks are easier to see when I sew the button holes.


You can use scissors, or use your seam ripper to open up the button holes.
REPEAT STEPS ONE THROUGH FIVE FOR EACH HEART.
Step six. Sew the bias tape closed.
You can make your own bias tape, which I've shown in other tutorials. If you wish to, I highly recommend a bias tape maker.


Using a medium stitch, sew the bias tape closed at 1/8". Be sure to finish both ends of the tape.
Step seven. Thread the bias tape through each heart.

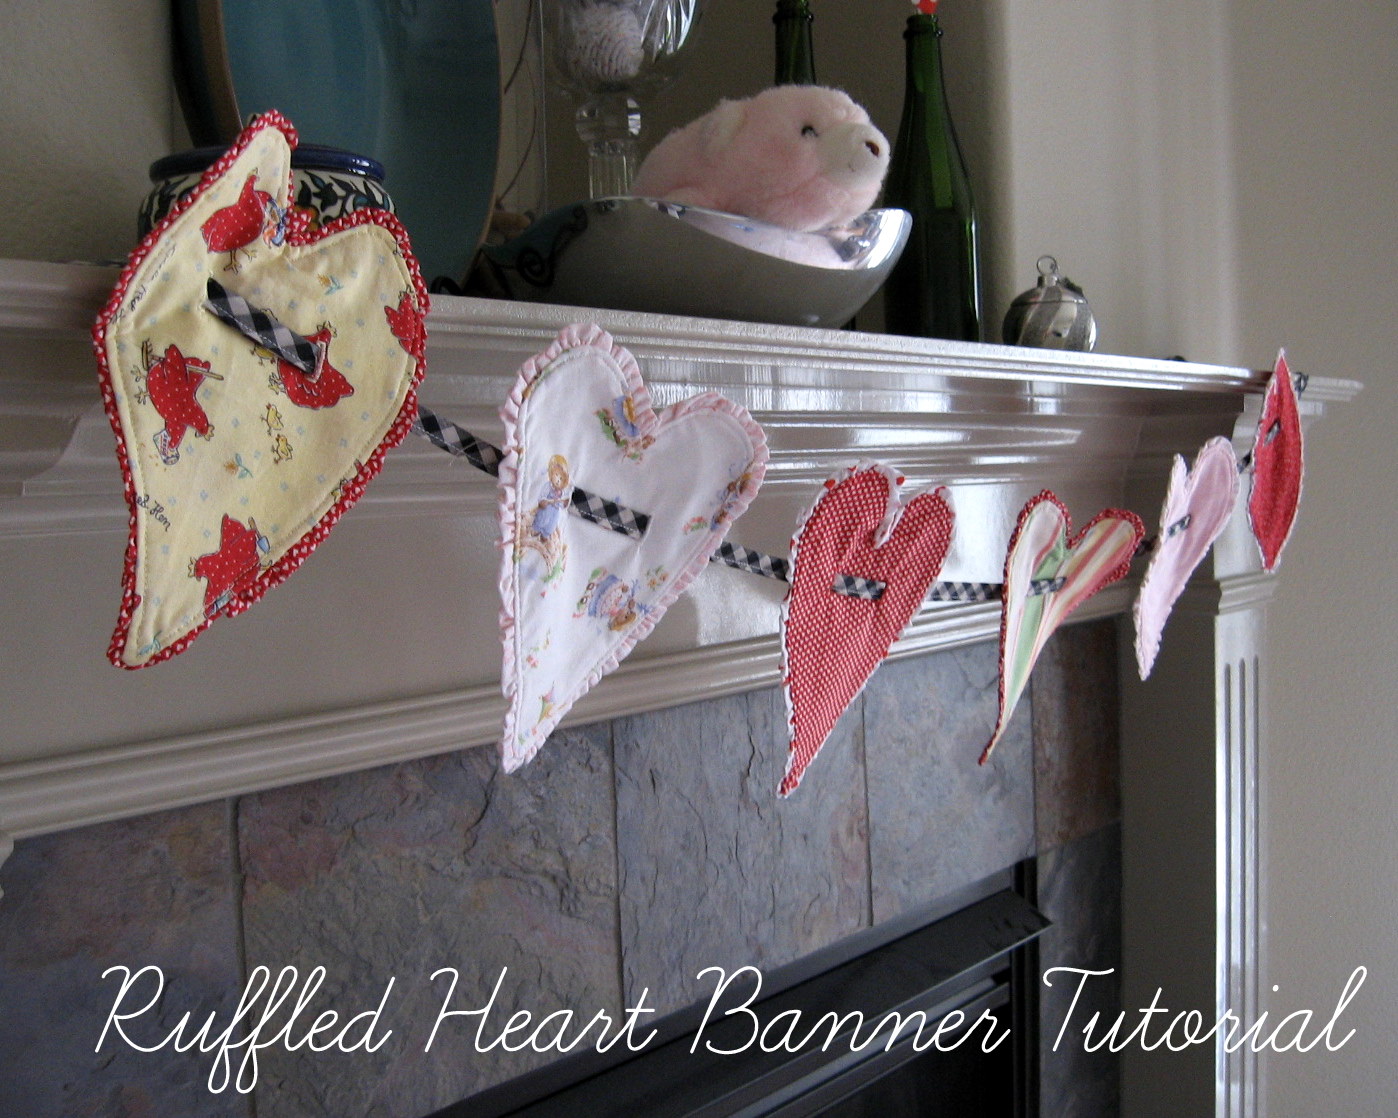
Continue with each heart. Tie the ends of the bias tape in a bow, and then hang up the banner.

Featured on All Free Sewing, and Happy Baby Designs.
Also featured on Craft Gossip and Totally Tutorials and One Pretty Thing.
Shared this tutorial on

and


10 happy thoughts:
This is so cute! What a great little decoration. I bet it will hold up to storage really well for use every year!
Thanks, Alicia. That was part of the motivation. I made a birthday banner last summer, and love it so much! My children really look forward to pulling it out. I hope it will be the same for this goodie.
Darling! I Just love it.
It's my favorite thing to get an idea in my head and then see it come to life!
Love this! lots of great ideas here!
Saw you on craft gossip today... congrats!
These are super cute!
Great job1 I love the ruffles! They are super cute. I want to do something with ruffles. Thanks for showing me how!
What a fun idea!!! SO cute.
Wow that is a great tutorial! and I love the ruffles :)
~ Emily N. from "too Blessed to Stress"
Thanks for this beautiful idea! I have thought about sharing it with my readers and I hope you are not sorry if I have inserted her in my post of S. Valentine (http://bimbumbeta.blogspot.com/2010/02/s-valentino-piccoli-pensieri-amorosi.html). If you had to not make you like I will handle to remove the link to your blog. Regards, Beta
That is perfect. Could be my next naptime project. Very pretty.
Post a Comment
How sweet of you to stop by. Kind words are always welcome.