

Be sure to add your pics to the Flickr Pool. If you've got a tip you've learned as you go, it's a great place to show it off. Gwen will be featuring Steps 13-16 today (11 and 12 don't apply to View A) so be sure to pop over there next.
Don't forget, we're sewing with a 5/8" seam allowance.
We'll dive right in to steps 6-10.
Step Six. With right sides together, pin pocket facing to front, matching the small and large dots.
You'll be joining pattern pieces #4 to the dress front #1.
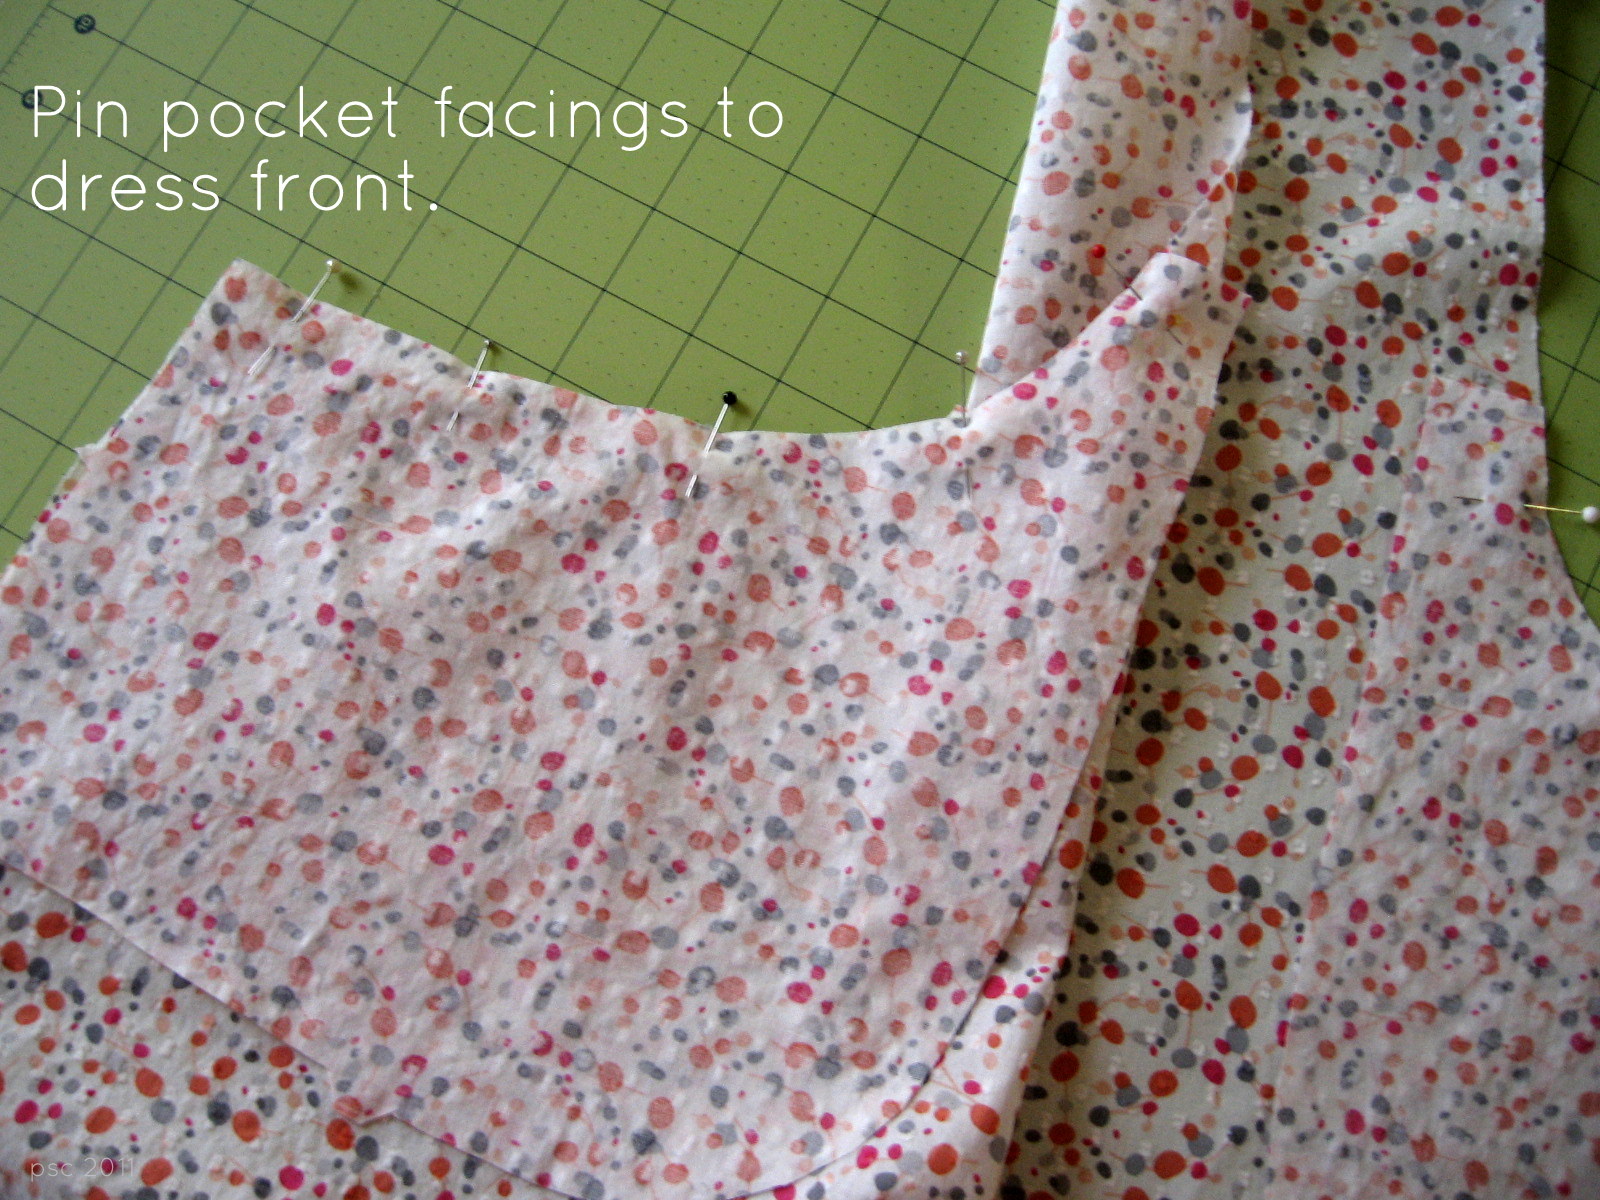
Matching small and large dots.

Stitch curved edge ending stitching at large dot.

Trim seam, clip curves, to large dot only. I recommend using your pinking shears for this step. It trims and clips curves in one step. HERE is another great source on how and why to clip curves if you need a little primer.

Step Seven. To understitch, press facing away from garment; press seam toward facing.

Facing side up, stitch close to seam through facing and seam allowances as far as possible.
Understitching keeps the facing from popping out of the pocket, and makes the pocket looked more finished.

Step Eight. Turn pocket facing to INSIDE; press, bringing clipped front edge to OUTSIDE. The pocket facing should be pressed to the wrong side of the dress front, and all the seams should be even.
Step Nine. With RIGHT sides together, pin side front (Pattern pieces #3) and pocket to pocket facing (#4) and front (#1) , matching small and large dots, having raw edges even. I found it easiest to start with matching the pocket seams, and then working up to the top of the dress front.


Starting at upper edge, stitch seam and double edged notches (The double edged notches are on the bottom of the pockets).

Finish seam. There are many different ways you can finish your seams. The purpose is to prevent fraying when washing your garment.

I have used all three, and each are great. Of course, if you have a serger, go for it! I prefer pinking just because it saves on thread, and I happen to have a pair of pinking shears.
Step Ten. On outside, lap front over pocket section matching small dots and having raw edges even, pin. Baste sides edges together.

Edge stitch front yoke close to sides and lower edges. Edgestitching, or topstitching, is a way to give your dress a finished look.

The front of your dress is complete! Head on over the Gwen's blog for Steps 13-16.


6 happy thoughts:
Oh my goodness, I love your fabric combination and that embroidered inset.
I'm not at this level of sewing yet but I love that you have this step by step tutorial. SO helpful...thank you for taking the time.
Chris,
I know I sound like a broken record but I LOVE your tutorials. They're so clear and big.
You explain everything so well. You have a real teaching gift.
Sarahx
LOVE the pinking shears tip for clipping curves. Wish I knew that before I finished my dress :) Your yoke is beautiful!
I've just returned from easter vacation and... what a lovely surprise!!! A super-clear tutorial to sew the dress! Thank you!
I love that embroidery. Is it very hard to make? I've never embroidered before.
This is my second time through with your terrific tutorial and I just figured out how to under-stitch the pocket (first time I guess I edge-stitched it). Who says you can't teach an old dog new tricks? Thanks again!
Post a Comment
How sweet of you to stop by. Kind words are always welcome.