

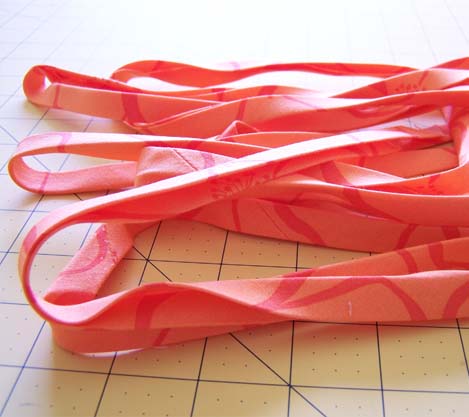
(this is my trim stash)
So enough of the why, here’s what I wanted to talk about: BIAS TRIM. It’s my best friend. Ever since I discovered it (yes, give me the credit), finishing my projects has never been easier.

Besides being the classic trim for quilts, it is great for the edges of clothes, quick bags, and other stuff. Plus… you don’t have to run to the store every time you want some, it’s totally DIY. The homemade stuff is even better, actually, because you can control the type of fabric you use (like nice 100% cotton).

Pull the fabric through and iron at the other end. Of course that’s not as easy as this little bias tape gadget that sells for around $6:

And I wonder about buying the fancy automatic kind they sell for around $100, but haven’t convinced myself that I need to yet.

The other way is to open it up, pin it to the front of your project, and stitch in the crease closest to the edge. Then you wrap it around to the back, pin, and topstitch.

With both methods, it is very important to make sure you are catching both sides of trim as you go. But it is also forgiving. If you mess up and don’t catch the back in a spot, you can hand stitch it down quite inconspicuously.
Some tips for using bias trim:
If you make your own, don’t skimp and cut it along the grain or the width. It’s called bias trim for a reason. Cutting it on the bias (diagonal) makes it just stretchy enough to go around curves nicely. The only time you can use trim that hasn’t been cut on the bias is for straight edges – like square or rectangular quilts (but you might want to use bias trim there anyway because it will hold up better).
Striped and plaid fabrics make really cute looking trim. So do prints.


Save unused bias trim by neatly wrapping it around a card. 3x5 notecards work well, as well as old flash cards, playing cards, or the cardboard left over from store-bought bias trim.
Use bias trim in place of ribbon for a quick bow. After you have stitched the edges together, tack it vertically to your project. Then tie.

Use bias trim to add a quick drawstring or elastic casing to the inside or outside of a bag or dress.
Practice your quilting skills on 10”x10” squares with insulbright (insulated batting) in the middle instead of quilt batting. When you’re done, finish the edges with bias trim and you have a potholder!
p.s. If you want to visit me on my blog, it's at carolinafair.blogspot.com. Thanks!
Thanks, Caroline! The video was fabulous, and the free pattern was so kind of you to include. If you get the chance, go over and Caroline's one minute video it is so cool!


3 happy thoughts:
I seriously love your stash Caroline! Fabulous. Bias tape is one fun thing :)
what a cute bib! great tips on bias tape too-i'm a bit jealous of that stash!!
Thank you for this bias lesson! Very helpful!
Post a Comment
How sweet of you to stop by. Kind words are always welcome.